

I love me some Pinterest, but I hate finding projects with dead hyperlinks or no instructions. I've totally gotten into the burlap craze, and love this monogram I pinned:

Sadly, the link didn't have directions, but I figured burlap canvases can't be all that difficult, right? I headed to Hobby Lobby armed with this picture an an open mind. I managed to find everything I needed to make these for my own home on a budget. I found out that while the burlap was cheap, art canvases with a thicker depth are not. :( Since mine were going to be covered anyway, I began looking for a cheaper alternative.
Styrofoam!

It's sold in large pieces and odd shapes back where you find the poster board. I like this option because A.)It's cheaper than buying three canvases B.) It's super light and C.) The thickness was just what I wanted.
I got a little overzealous with mine, and cut it before I managed to take a picture. It is sold in one piece, though. This particular piece measures about 12 x 10 x 1.5 inches and was $4.99. With my handy 40% off coupon, I managed to make all three of the letters for less than $10!
I left Hobby Lobby with the following things:
1 styrofoam board- $2.99 (with coupon)
1/2 yard of burlap- $1.99 (and I have enough left over for something else)
Spool of ribbon- $3.99
I already have acrylic paint and brushes at home, but the paint should run you about $1, and the brushes around $2.
To begin, I measured and cut my styrofoam. Since I wanted mine to be relatively small (to fit on a small shelf), I was able to get one 7.5 x 7, and two 5.25 x 4.25 blocks from one foam board. I measured my sizes first, and drew a cut line with a permanent marker. A large serrated knife made cutting these suckas easy, but you could also use a craft or exacto knife. Now, cutting styrofoam isn't the most pleasant experience. Focus on the cuteness factor of the finished product as the chills roll down your back and your teeth hurt. *Shudder* Luckily, it's over quickly.
Next, I scoured my computer for fonts that would look similar to the one in the picture. Copperplate Gothic and Constantia are both bold and blocky. Play around with different text effects to get your desired look. I ended up making mine bold just to give them a little extra thickness. Use the ruler bar function on your word processing program to make sure you're keeping them the right size.

There are several different ways that you can transfer the letters onto your fabric. If you have a craft cutting machine like a Cricut or Silhouette, you can easily have the machine cut out a precise stencil for you.
If you don't have a fancy cutter, no sweat. Print your monogram letters and:
A.) Cut the letter out using small scissors or a craft knife. Use the letter itself as a stencil (and trace around the outside), or use the negative (and trace around the inside)
B.) Place the print out under your fabric, and trace the outline as neatly as possible.

To get a clean line while tracing, TRY TO KEEP THE TEMPLATE AND FABRIC AS STILL AS POSSIBLE. Use pins, tape, spray adhesive, or any means necessary to keep everything in place as you are tracing. This keeps the lines straight and the letter true to shape.


Take you time, and try your best to stay in between the lines. Try not to dip your bristles more than 3/4 of the way into the paint. It keeps things so much neater. When I get a little dip happy and go all the way past the metal, I just wipe my brush off with a paper towel and start again.


I painted all three letters at once, and taped the material to a book shelf so that they could dry. I was worried that the damp paper under the fabric would crinkle as it dried, and cause my damp fabric to dry funny. I'm not sure if this would actually happen, but I didn't risk it.
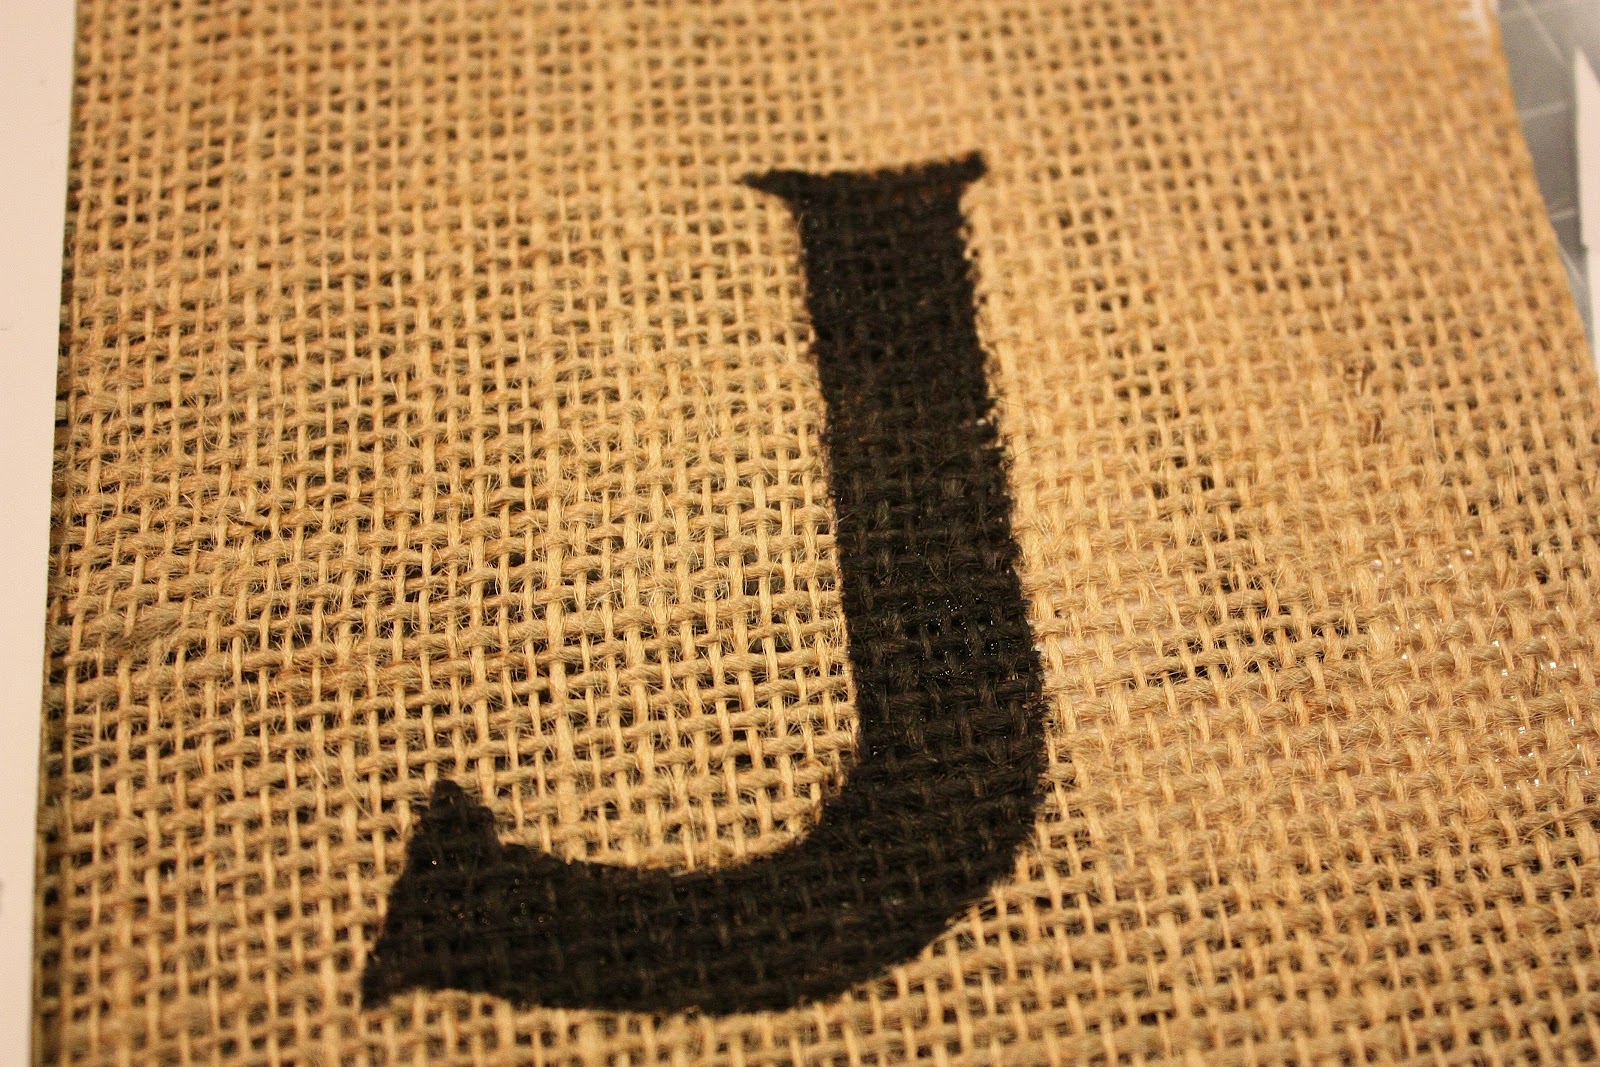
I began this whole project with burlap, and ended up switching to another material I had on hand after painting this letter. With so much space between the threads, I was having a hard time getting the letters as precise as I wanted. I also wasn't loving that this space would also show the white of the styrofoam.

You could remedy this problem by adding another coat of paint to fill in the holes once the burlap is attached, but I'm all about convenience sometimes.
So I switched my fabric to one with smaller weave. I also got this from Hobby Lobby (in the same section as burlap). It's more of a canvas-ey material. It's got a nice weight, has texture, was just as cheap, and almost the same color.

I like it because it allowed me to paint a much cleaner line and create solid color. It reminds me a little of some things I've seen things at Ballard Designs.
Next, I wrapped and stapled the material onto my pieces of styrofoam. I'm not an expert at this, but I just tried to keep the corners as clean and sharp as possible. I don't really care what the back looks like since mine will be on a shelf. You could take the extra time to make the back look neat if you wanted to display these somewhere the back would be seen.

Finally, I hot glued a black and white striped ribbon around the outside to give it a more finished look. The original Pinterest inspiration left the sides plain, which I also like.


No comments:
Post a Comment